I've got MPI working with:
A "horseshoe" permanent magnet offers a portable means to perform "mag. part." tests. This effort is about seeing what can be achieved for transverse T-joint welds which I am investigating for fatigue performance. Cyclic stress fatigue of metals causes cracks to form in structures - which MPI should be able to detect...
There's no pictures of the first attempt, as couldn't see anything. Particles clearly going somewhere, but couldn't see where that was. Black particles on black mill-scale background. So no pictures record that first attempt.
Catalogues list it and now I know why you have it. White spray-painted sample, using an available white paint.
There proved to be another hurdle to go.
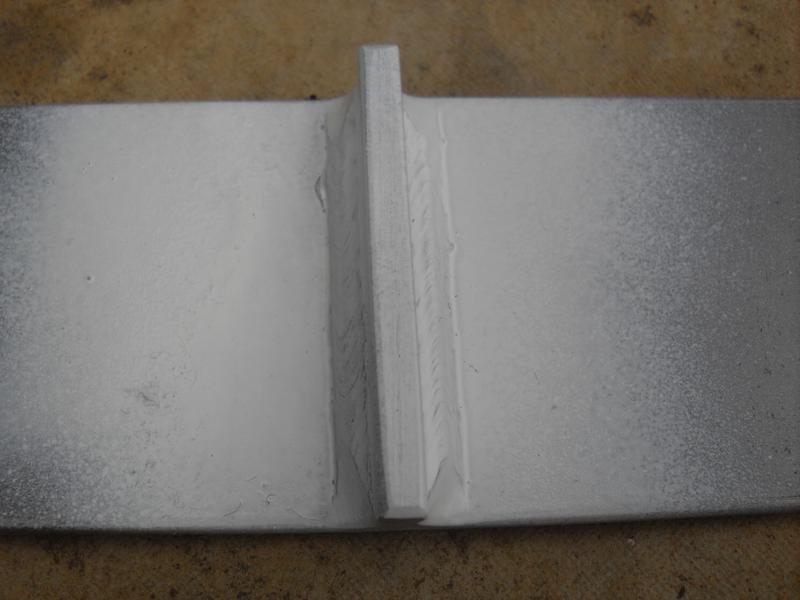
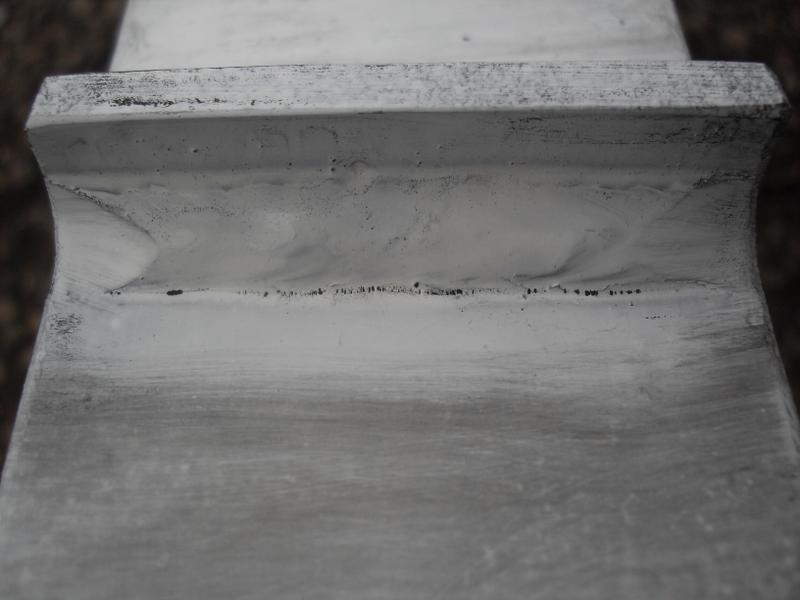
All tests initially looked like this. Whether they had defects or not. The magnetic particles all migrate to the weld toes, leaving clear fluid across the rest of the sample. The change in shape at the fillet gives enough disruption of the magnetic field lines to cause this.
The good things is you can see that now the samples are painted. The problem is this reveals no information about the sample.
So I went outside with a cup of tea and phoned a friend with a Trade background. Who told me some common Trade knowledge.
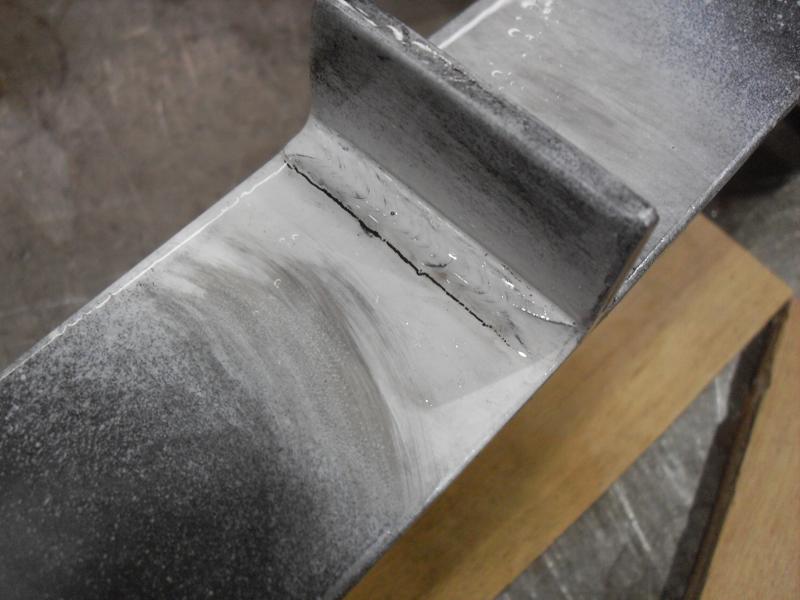
If you blow down the empty casing of a ball-point pen onto the weld toes, the air-jet drives-away particles from the corner of samples with no defects. Conversely, if the sample has a defect, the particles are held more strongly and they hold onto the defect resisting being blown away.
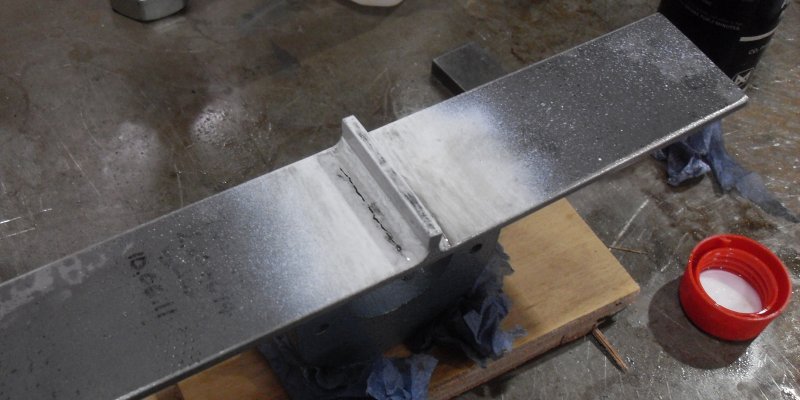
Samples fatigued but not yet broken
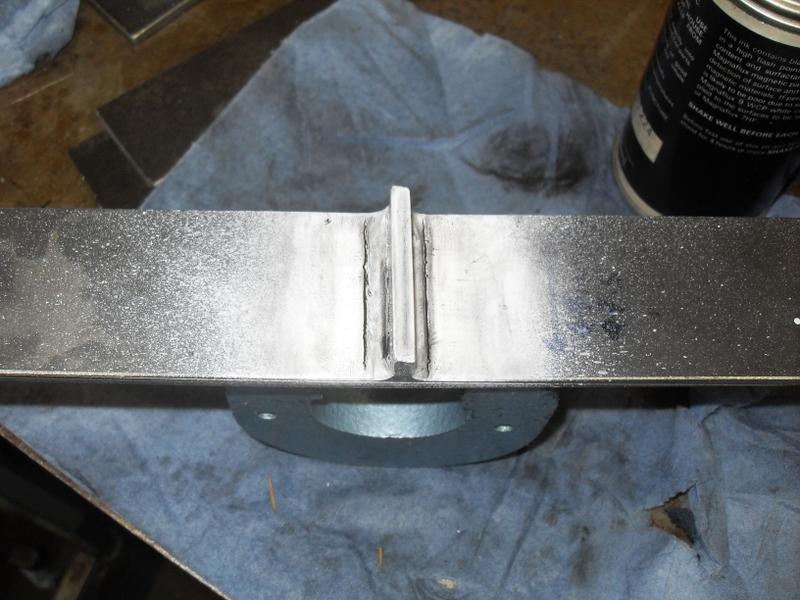
This sample has been cycled to the nominal yield stress and was expected to break at any time. It surely must have a large fatigue crack.
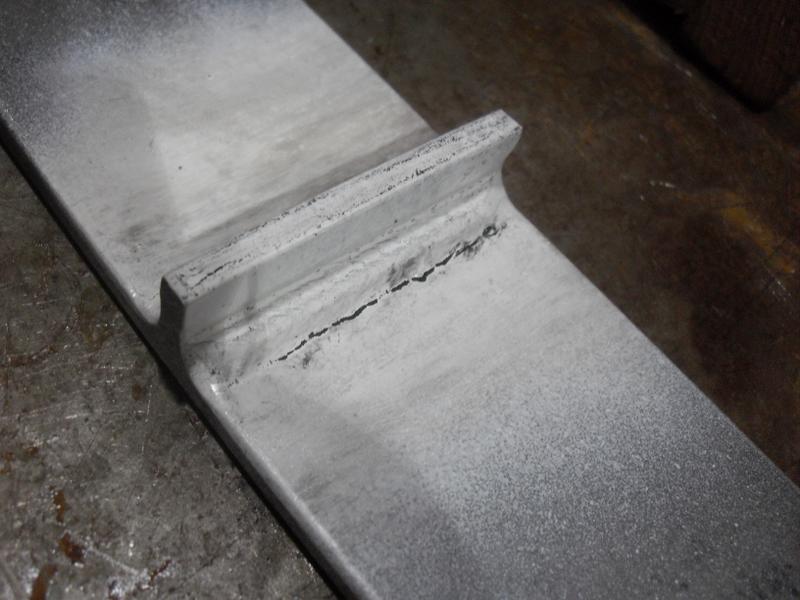
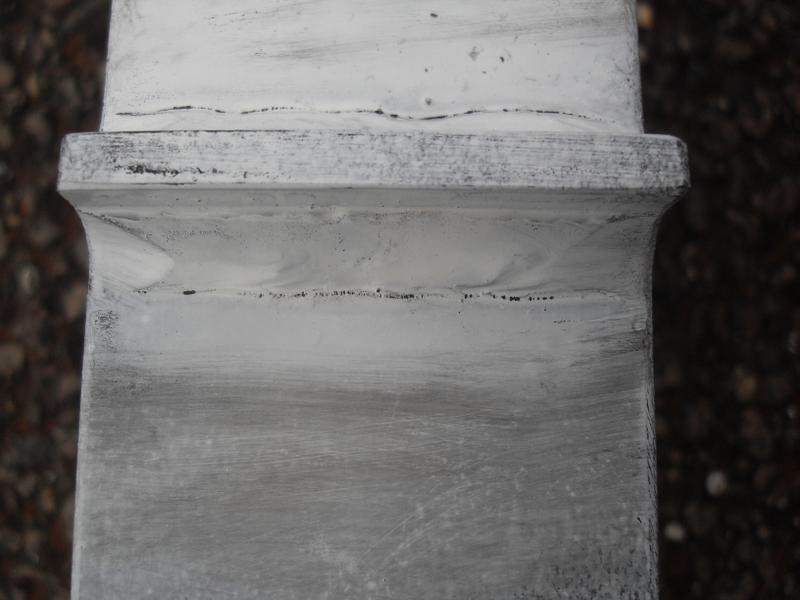
The indication to the left-hand-side is a locally steeper intersection of the fillet to the plate. What hasn't been said - you don't get any indication if there is no defect and the sample shape would pass City & Guilds Introductory level welding standard. If the fillet-to-plate intersection is sharper, you cannot blow out all the particles and you are left with a sharp indication regardless.
None of these samples has been sectioned yet at time of writing. Obviously you can magnetic-particle inspect then do metallography but not vice-versa! So what is corresponding to these indications is of keen interest...
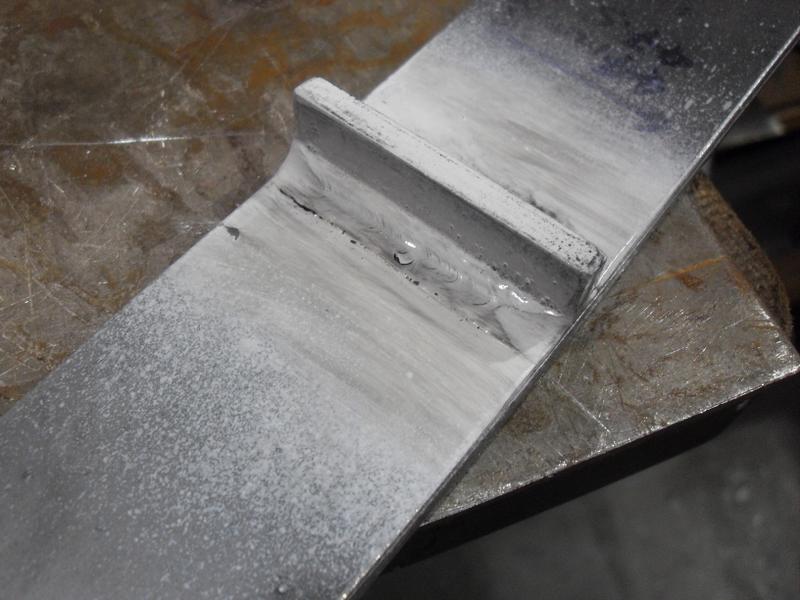
I'd been introduced to the technique of blowing the indication through a tube with small nozzle to identify real defect detection.
I further refined the "blowing" technique to get photographable results. Likely doing something which is familiar. Of replenishing the fluid with white spirit (this being a paraffin-based particle system) while blowing the indication persistently and catching displaced particles and fluid in tissue.
Working with paraffin/kerosene/white-spirit is a bit 'orrible - it gets in the skin despite barrier creams and permeates clothes. Then it makes taking photographs difficult as you don't want paraffin all over your camera. So hoping to move to a water-based system.
R D Smith, 06 July 2011