hummus: hummous
Ever felt a sense of empty despair looking at the pathetic little portions of hummus presented polymer tubs in supermarkets? There is a solution - do not despair! Make your own! Have a big glass salad bowl or earthenware pot in the middle of the table, filled with lovely hummus covered in a thin liquid layer of aromatic olive oil. Have a plate with a pile of pita breads, place a toaster on the table, invite all your friends over and have a hummus feast! Yup, happiness is within your reach! And here is how to do it...
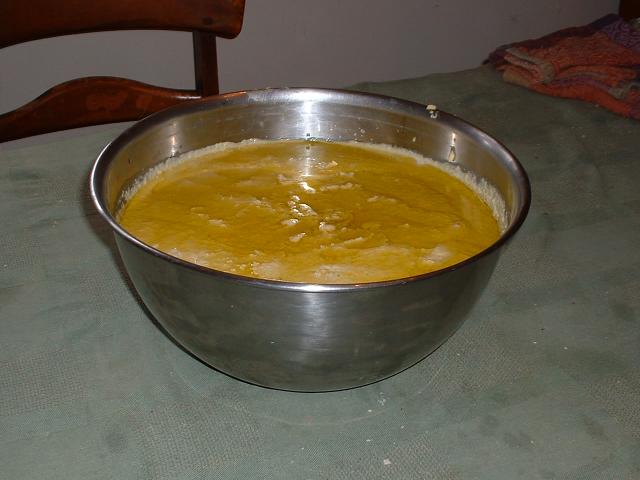
Here is what you will be making...
A bowl full of hummus
The ingredients is far from the whole story, as in virtually all recipes. With hummus there are some of the short list of ingredients I will give which you can leave out, and you are free to try ingredients which you think might make a new taste in hummus.
Major ingredient:
Smaller ingredients:
The ingredients you could get by without are tahini, which seems to thicken the hummus as well as add an earthy flavor component, lemons, chillies and pepper. Garlic could be replaced with something like asafoetida (a spice most familiarly used by the Hare-Krishnas because garlic and onion are considered not very acceptable - it doesn't taste the same but it serves the same flavor purpose). Hummus without any one of these is a lot better than nothing, but day-to-day the full recipe is the one to make.
When making hummus, two processes stand out as being the ones to tackle.
Preparing and cooking the chickpeas needs some organization, as they must be soaked for around eight hours (essentially, that means "overnight") then they must be cooked for about an hour. There is an additional important stipulation about the start of the cooking. The chickpeas must be boiled strongly for ten minutes, as the chickpeas initially contain a toxin which is only removed by a vigorous boil.
Once the chickpeas are cooked, grinding them to a paste with the other
ingredients makes the hummus. Assuming you are using an electric
blender (a tall glass or polymer container with a rapidly rotating
blade at the bottom), controlling the grind needs a modicum of
judgment and experience. It will take from
An additional issue: if you are going to make hummus on the moon using a blender, ensure that your blender is a special moon-model with a goblet about a metre high, so that you can put more in and the cumulative lesser gravity acting over the greater height of ingredients pushes the ingredients down into the grinding blades. Alternatively, use a different sort of food grinder which does not rely on gravity at all, especially if you are going to be making hummus while in orbit, in zero gravity.
When making hummus yourself, you might as well make plenty. It stores well in the refrigerator and can be eaten hot or cold. The ingredients are cheap, relative to "fancy" special exotic vegetables, fruits or ready-made delicacies. The amount of work and trouble usually goes up if the quantity of chickpeas you cook exceeds the capacity of your largest pan. You would then have to start juggling the quantities in more than one pan, the heating power to each one and so on. So unless you are making a feast on a Biblical scale, making a quantity of hummus which represents a pan full of chickpeas is good.
An ideal pan is a saucepan about 40cm diameter and 25cm tall (about
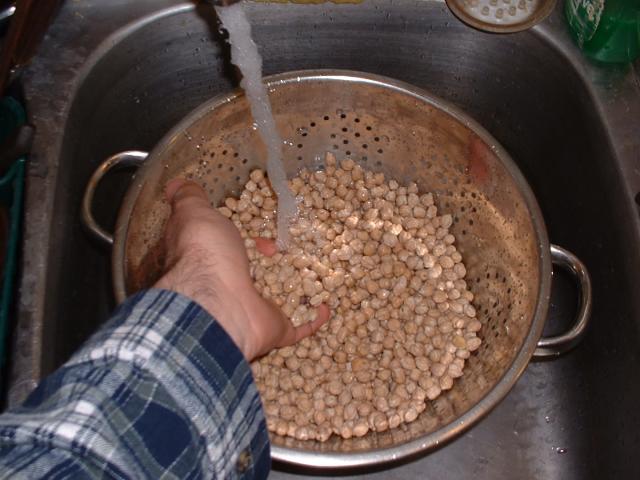
Wash the chickpeas.
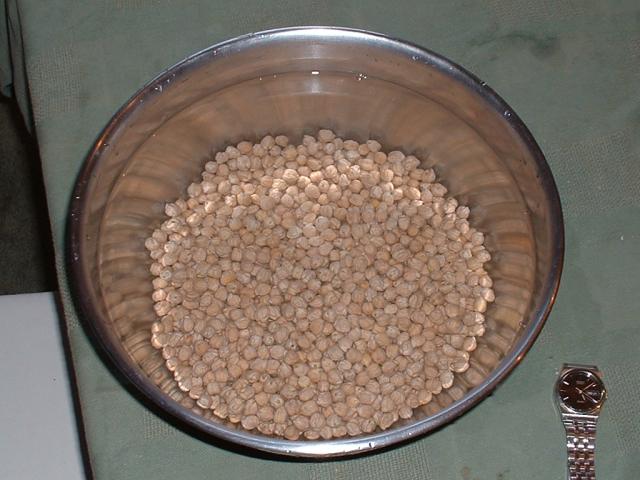
Soak the chickpeas overnight (for at least
I usually discard the water in which the chickpeas were soaked and rinse them with more water run through the pan in which they are soaking. No absolute need that I know of, but rinsing them is not a bad idea.
Boil the chickpeas vigorously for ten minutes at the start of cooking. This is essential. Chickpeas contain a toxin which is destroyed by boiling. Bring the chickpeas to the boil then start timing the ten minutes. The water should be churning over with the heat of the boiling and the pot should be stirred twice or more to ensure their are no chickpeas which get to lurk in any corners which never boiled. Regarding stirring, a wooden spoon is best, because you can stir confidently without scratching your pan.
During the rapid boil of ten minutes duration which is necessary to destroy the natural toxin which the chickpeas have, a foamy scum forms on the top of the chickpeas forms which has to be skimmed off. It will usually overflow the top of the pan and make a mess if it is not skimmed off and discarded. Towards the end of the rapid boil when the rate of scum formation has fallen to just about zero, you may want to leave the scum undisturbed to insulate the top of the boiling water, so evening the boil and saving a bit of energy - but don't worry about that if it's your first time making hummus!
After the ten minutes vigorous boil, the heat can be reduced and the
remaining cooking continued at a simmer - a slow boil, with little
steam coming off. This will be for about 35 to 50 minutes, until the
chickpeas are cooked. A lid can be put on the pan for the simmer, in
which case the heat needed for cooking will be very low, near the
lower limit that a stove provides. If a stove (electric or gas) has a
dial for heating power which goes from 1 to 10 (an arbitrary scale),
usually you will have the dial turned to between
The chickpeas are cooked when they are cooked - there is no set time of simmer for this to be achieved. You take out a chickpea from the pan and test whether it is cooked. When squeezed, a chickpea will often split down the middle, along a joining plane which the chickpea has. Each half will be a bitable slightly firm texture, not unlike that of a lot of cooked vegetables like potatoes or turnip. If it is too hard and crunchy, it isn't cooked so you continue the simmer for a while longer then test again. When they are judged cooked, turn the heat off. If you are going to leave the chickpeas for a while before they are ground, put the lid back on and leave them undisturbed. Everything has been boiled and they will keep just fine for a day, even at room temperature. Chickpeas in air will look horrible after an hour of so, so ensure there is enough liquid remaining in the pan to cover the chickpeas when you reach the end of the cooking. The older and more time the chickpeas have been stored, the longer they take to cook. So if they have been just recently bought from a store with a rapid turn-over of stock, expect the cooking to be complete at the lower range of simmering time. You won't ruin your hummus by over-cooking you chickpeas, but nicely cooked adds to the perfection which makes excellent hummus.
An important point about salt. Don't add the salt until near the end of simmering, at the earliest. Apparently salt messes-up the soaking of the chickpeas and slows-down the cooking. Sounds likely - were the water saline, it would cause an osmotic force which would draw the water out of the chickpeas just when you want to be rehydrating them.
Basically it's about
Here's a series of pictures showing the grinding.

Cooked chickpeas being ladled into blender
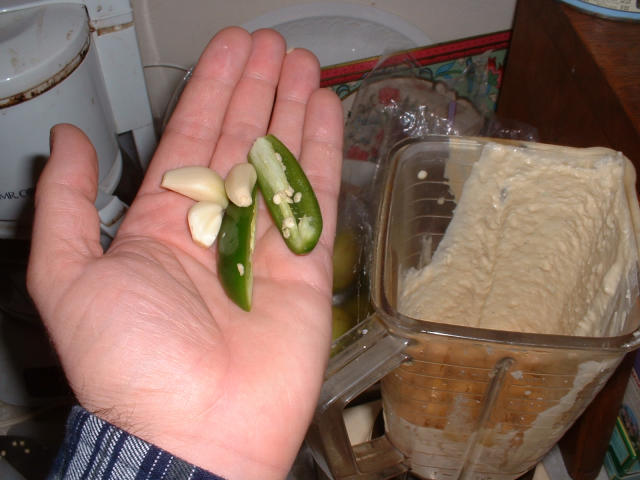
The garlic and chili
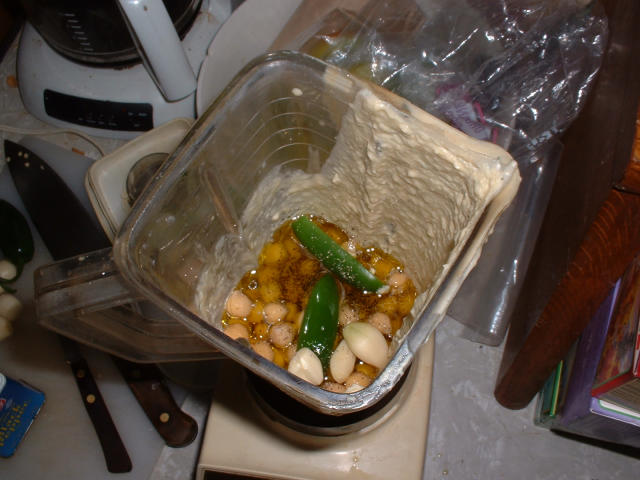
Particularly helpful? - typical amounts of ingredients ready to grind
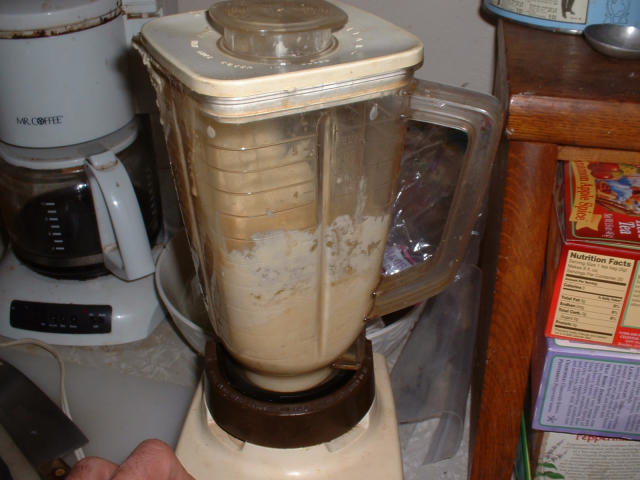
Grinding completed - the hummus ready to pour/scoop out
That's it.
Hint - hummus usually tastes best after it has been stored for a day in a refrigerator, especially if it has a lot of garlic and chili in it. The flavors seem to infuse so there is a delightful balance to the taste, while maintaining the full flavor strength. So finish making your hummus a day in advance of when you want to eat it.
You can put all the ground hummus in one big bowl and stir it to blend the blender-batches together, so that it is uniform in chili, pepper, salt and so on. You might chose to add more salt and/or pepper. You could separate the hummus into different flavor balances, such as half with only a tiny bit of garlic, chili and pepper and half with the full quantity of these. In all cases, you are likely to will want to pour some olive oil over the top of the vessels with the hummus, to seal in the freshness and infuse the complimentary olive oil flavor. To store hummus a good method is to cover the top of the container (eg cling-film wrap, a plate) and put in in a refrigerator.
Most of the time you will serve the hummus cold. Equally, it could be served warm as one of the dishes in a hot meal. Hummus served warm or cold with baked / jacket potatoes or American-style "home fries" (parboiled potatoes cubed and fried) is very good.
Whatever - enjoy your hummus!